Install svn server on centos 6
SVN
– Apache subversion
SVN – Subversion is a versioning and
revision control system used by developers to track and keep up earlier
versions of their source codes.
In this article we can see how to
setup svn server on centos 6.
Lets start ,
Install svn server on centos 6
Update yum repositories and packages
by typing the below command
[root@krizna ~]# yum update
Before installing SVN packages, you
must install and configure apache ( Webserver ) .
Install
and configure apache
Step 1 » Type the below command to install apache along with
dependencies.
[root@krizna ~]# yum install httpd
[root@krizna ~]# yum install httpd
Step 2 » Open the file /etc/httpd/conf/httpd.conf .
Find "#ServerName www.example.com:80" (line no : 276 ) .
#
#ServerName www.example.com:80
Find "#ServerName www.example.com:80" (line no : 276 ) .
#
#ServerName www.example.com:80
and add this line below .
“ServerName youripaddress:80″
#
#ServerName www.example.com:80
ServerName 192.168.1.2:80
#ServerName www.example.com:80
ServerName 192.168.1.2:80
Step 3 » Issue the below command to start apache service .
[root@krizna ~]# service httpd start
and type this below command to start apache service automatically while booting.
[root@krizna ~]# service httpd start
and type this below command to start apache service automatically while booting.
[root@krizna ~]# chkconfig --levels
235 httpd on
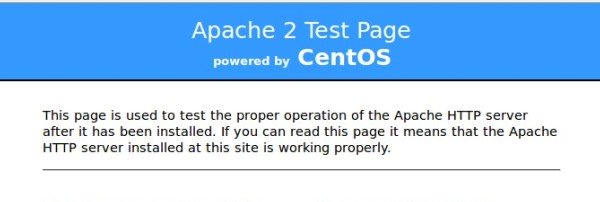
Now open your server ip address in
the browser . you can see the apache test page.
If you not able to see the apache test page, Disable the firewall ( iptables ) and selinux service on your server .
Disable firewall ( Iptables )
[root@krizna ~]# service iptables stop
[root@krizna ~]# chkconfig iptables off
[root@krizna ~]# service iptables stop
[root@krizna ~]# chkconfig iptables off
Disable Selinux » open the file
/etc/selinux/config and find the line
SELINUX=enforcing
SELINUX=enforcing
and replace with
SELINUX=disabled
SELINUX=disabled
now reboot the server and try again.
Install
and configure svn server
Step 4 » Now start installing svn packages, Just type the below
command .
[root@krizna ~]# yum install
subversion mod_dav_svn
Step 5 » Now create new directory for svn repository.
[root@krizna ~]# mkdir /svn
Step 6 » Create a new repository in the svn by issuing the below
command
[root@krizna ~]# svnadmin create
/svn/newrep
Step 7 » Now issue the below commands one by one for necessary
permissions.
[root@krizna ~]# chown -R
apache.apache /svn/newrep/
For our server, SELinux is enabled, so we have to change the SELinux security context.
To allow commits over HTTP, execute the following command.
[root@krizna ~]# chcon -h system_u:object_r:httpd_sys_content_t /svn/newrep/
[root@krizna ~]# chcon -R -h apache:object_r:httpd_sys_content_t /svn/newrep/
Step 8 » Now create a password file “newrep.users” with username “krizna” by typing below command
[root@krizna ~]# htpasswd -cm /svn/newrep.users krizna
[root@krizna ~]# vi /svn/svn-acl-conf
[newrep:/]
krizna = rw
krizna = rw
Step 9 » Now open the SVN apache config file ( /etc/httpd/conf.d/subversion.conf
) and add the below lines at the end of the file .
<location /repos>
DAV svn
SVNParentPath
/svn
AuthzSVNAccessFile
/svn/svn-acl-conf
AuthType Basic
AuthName
"Authorization Realm"
AuthUserFile
/svn/newrep.users
Require
valid-user
</location>
Step 10 » Restart apache service
[root@krizna ~]# service httpd restart
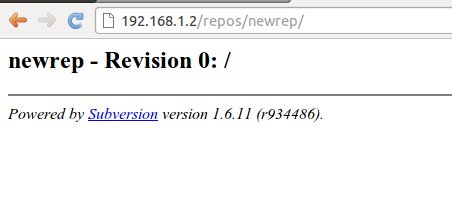
Step 11 » Now open your svn path http://yourserverip/repos/newrep in a browser( Ex: http://192.168.1.2/repos/newrep ) . you can see newrep revision page after typing username and password created (step 8).
[root@krizna ~]# service httpd restart
Step 11 » Now open your svn path http://yourserverip/repos/newrep in a browser( Ex: http://192.168.1.2/repos/newrep ) . you can see newrep revision page after typing username and password created (step 8).
Step 12 » Create basic repository structure with the below commands
[root@krizna ~]# mkdir -p /tmp/svn/{trunk,branches,tags}
[root@krizna ~]# svn import -m 'Initializing basic repository structure' /tmp/svn/ http://localhost/repos/newrep/
Step 13 » Now you can see updated revision and structure details .

Nhận xét
Đăng nhận xét